
Untethered Control: How I Engineered a Secure SSH Tunnel Between My Laptops
Table of Contents
What happens when you combine the mindset of an engineer with the vision of an artist? You start looking for ways to break physical boundaries and make your machines talk to each other.
Recently, I set out to solve a classic multi-platform workflow challenge: taking full remote control of my second laptop running Kali Linux right from the terminal of my main machine.
No monitor switching, no extra keyboards. Just pure command-line mastery over a secure network tunnel. Here is exactly how I diagnosed the initial roadblocks, configured the environment, and successfully established the link.
The Core Concept: What is SSH?#
Before diving into the terminal, it helps to understand the architecture of what we are building.
Secure Shell (SSH) is a cryptographic network protocol that creates a secure, encrypted tunnel between two machines over an unsecured network.
- The Client: Your primary workstation (the laptop you are physically sitting at).
- The Server: The remote machine (the target laptop waiting for incoming instructions).
Once the connection is established, the client machine can execute commands, modify configurations, and manage files on the server machine exactly as if you were sitting right in front of it.
Phase 1: Troubleshooting the “Connection Refused” Trap#
Every great engineering project comes with a debugging phase. When I fired up my first connection attempts, the terminal repeatedly blocked my requests with a frustrating loop of errors.
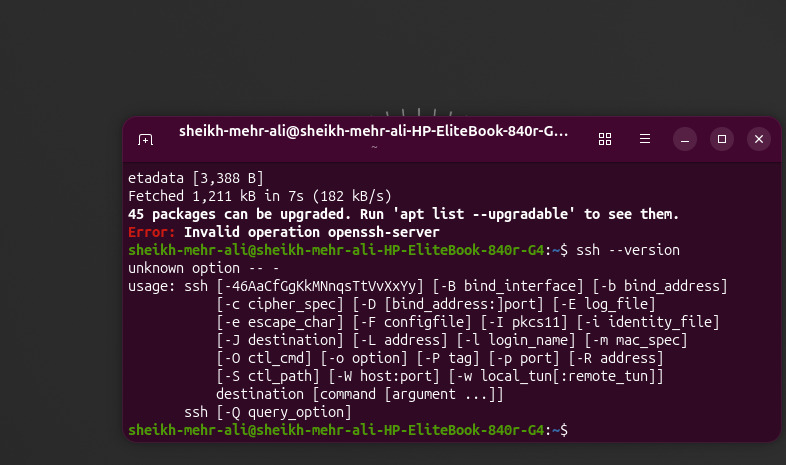
now :
Phase 3: Establishing the Link#
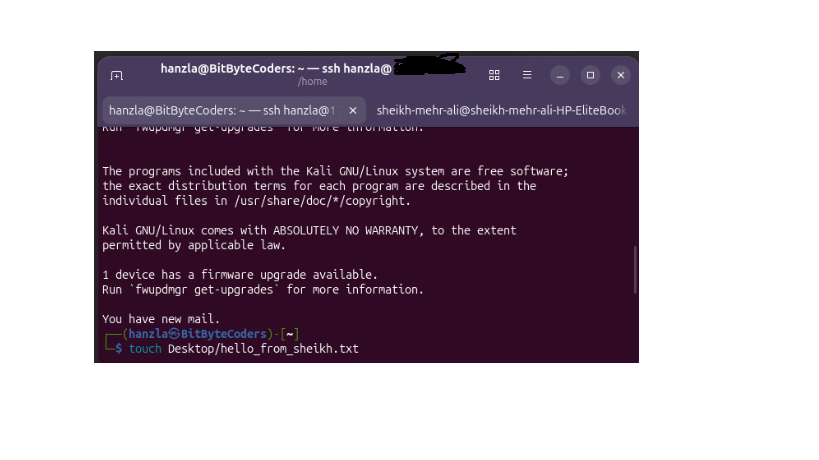
With the server active and the private network path identified, I hopped back to my primary machine and executed the connection string:
ssh username@remote_private_ip
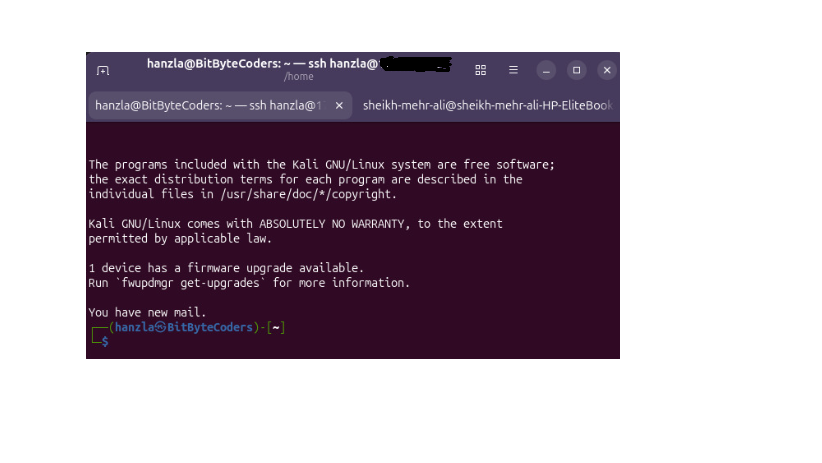
The terminal instantly responded, creating a secure cryptographic handshake:he local prompt vanished, replaced by the remote environment:
The boundary between the two laptops was officially gone. Every keystroke entered from this point forward was executing natively on the hardware of the second machine.
Phase 4: Remote File Manipulation#
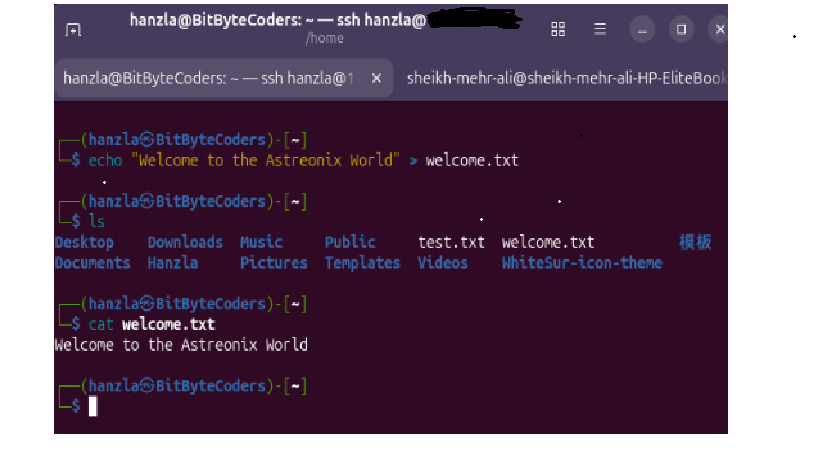
To test the integrity of the write permissions over the new connection, I dropped a custom string directly into a new text file on the remote machine:
echo “Welcome to the Astreonix World” > welcome.txt
Command Breakdown:#
echo “…”: Spits out the text string.
: The redirection operator, which intercepts the output and pipes it into a physical file instead of rendering it on the terminal screen.
welcome.txt: The targeted file created in the remote home directory.
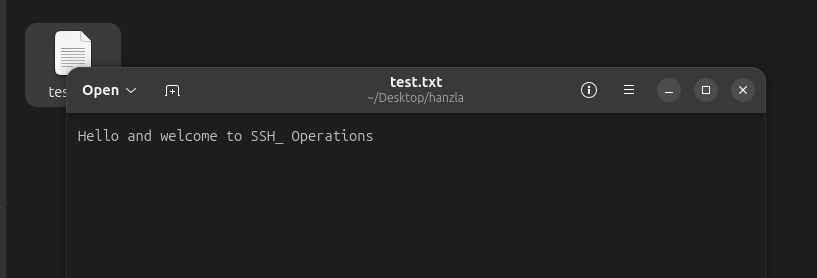
To verify the file’s contents without moving an inch, I read the file back remotely:
cat welcome.txt
Phase 5: Graceful Disconnection#
When the remote maintenance session is complete, it is best practice to close the encrypted socket cleanly rather than just killing the terminal window:
exit
(Alternatively, hitting the Ctrl + D hotkey achieves the exact same result). The terminal drops the session, outputs a clean Connection closed confirmation, and returns you safely back to your local environment.
Wrapping Up#
Mastering SSH completely redefines your development workflow. It allows you to transform secondary laptops into headless development boxes, automation units, or testing environments while keeping your main workspace organized and uncluttered.
Great things take time to debug. New articles arriving shortly.